Sunday was a great day for flying, especially for March. It was sunny, there wasn’t much winder, and it hit the mid 60’s. Very rate for this time of year. So when I got up in the morning I made it a priority to get my toothpick repaired, as it was still sitting in pieces from the prior weekend’s crash at the local elementary school.
I’m starting to thing that place is cursed for me, as only a couple of months ago I whacked a pole and broke a motor. On my second battery I caught a branch and crashed to the pavement, which snapped on of the zip ties that I use to mount my receiver antennas, and I found later when I opened it up also knocked the smartaudio wire off of the flight controller.

So I sat down at my hobby table and got set up to do some soldering. I had decided in addition to just fixing the wire and the antenna I was going to finally get around to troubleshooting why my smartaudio wasn’t working.
Smartaudio is a protocol that allows the flight controller to change the band, channel, and power on the VTX. For some transmitters this is a nice bonus and saves a pilot from having to read tiny LEDs and do a bunch of button presses to switch settings. For my VTX thought it’s the only way to change the settings, since it doesn’t have a button and the LEDs only show what the power level is. Up until now I’d just been setting the goggles to the band and channel the VTX got stuck on, but if I ever wanted to go somewhere with other pilots I wouldn’t be able to fly like that. I also wanted to be able to increase the transmitter power, since the VTX would go up to 200mW and provide a much clearer picture when going around obstacles.
I resoldered the wire and tested out the smartaudio but it still didn’t work, which I expected. I’d previously checked the wire and the solder joints, so I didn’t really think resoldering the wire again would fix things, but I wanted to check regardless. The next step was to swap the VTX. I’d been putting this off because I didn’t want to have to move the camera over to the other VTX that I had since it would require desoldering and then soldering three wires. Not that I’d mind doing that, but I’d rather not when I don’t know if the VTX is really the issue. I had gotten a VTX and camera combo though for a possible replacement part for my brushless whoop, if and when it was needed, and it used the same plug and pin-out that my toothpick VTX did. So I was easily able to plug in the new VTX and camera and see if the smartaudio worked there. It didn’t, which was good as it meant I knew the problem was in the flight controller, but bad since that meant I’d have to swap in a new flight controller. Which basically meant a rebuild.
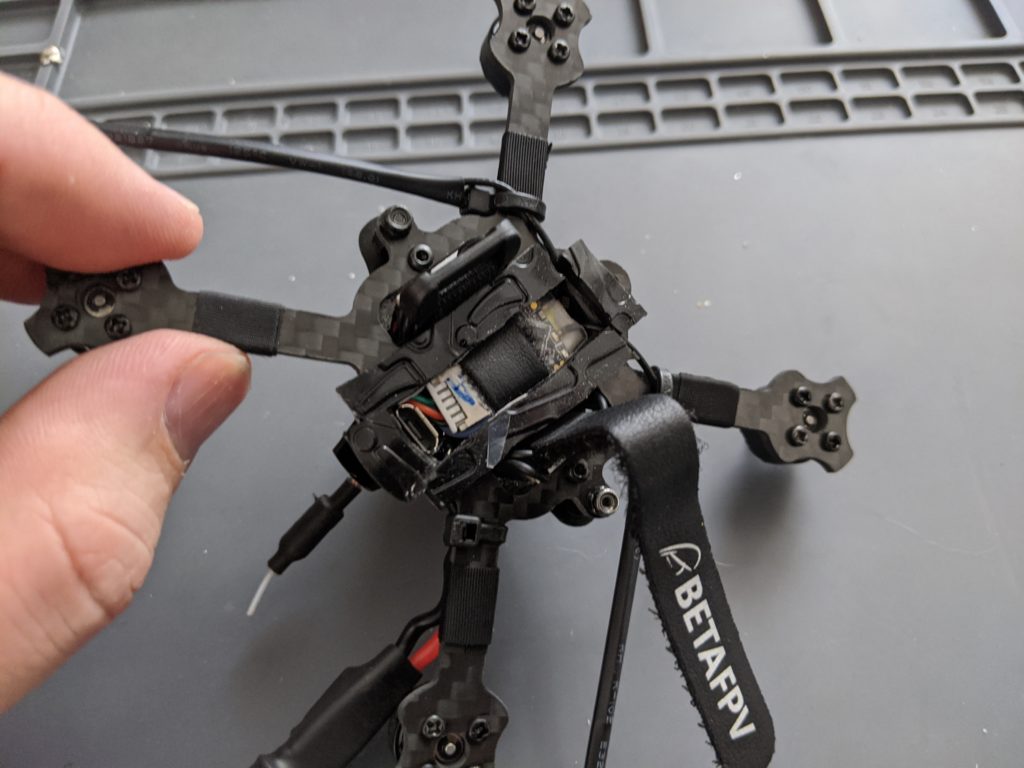
As I was taking the quad apart so I could pull the flight controller out, I found a crack in the front of the frame. I’m not sure if it was from that last crash or not, but it turns out that there was a silver lining for having to swap the flight controller. I probably wouldn’t have noticed that crack otherwise, since I tend to focus on the arms and motor mounts when looking for damage.


Just the foam that the flight controller was mounted to was holding the front together. I found the start of a crack at the rear mounting screw as well, and there was enough stress on the frame when I pulled the mounting foam off that the frame split in half.

Once I had everything disassembled, I soldered up the new flight controller to my receiver and my VTX and tested out the smartaudio again and found it working. So it was some kind of problem with the original flight controller. Not too surprising I suppose given the amount of abuse it’s taken over the last six months or so.
At this stage I was pretty pleased with myself, I’d finally resolve and issue that had been bugging me for months. I got out a new frame and started rebuilding my quad again. I took this as an opportunity to adjust one other thing that had been bothering me.
When I originally upgraded the receiver, I put it on top of the flight controller. Originally it was underneath and I didn’t like that since I was worried about the battery impacting it in a crash, so I put it on top. The problem with that is the canopy is a pretty tight space and it was tough to get the wires for the VTX and the receiver along with the VTX and receiver themselves all tucked in under the canopy without crimping any wires. So this time around I fixed the flight controller mount so there would be a bit more space underneath and moved the receiver back there. I also added more battery padds around the area thinking that would help protect the receiver and the USB port.
My last step in the build was to hook the quad back up to the computer and check the motor directions. I didn’t keep track of which motor was in which position when I took them off of the old frame, so I figured some of them would be backwards and I’d need to change some setting in BLHeli.
I plugged in the quad and when into Betaflight to the motors tab and tried to spin up the first motor, only to have nothing happen. Motor two spun up but it was in the wrong position, I was setting the motor two throttle in Betaflight but it was the motor in position three that was spinning. Motor three spun up but was in the motor four position, and motor four didn’t spin at all. So basically the right-side motors weren’t spinning and the left-side motors were, but they were mapped to the wrong motor positions. Remapping motors isn’t hard, it’s just a couple of commands that need to be entered in Betaflight’s command line interface tab:
resource MOTOR 1 B07
resource MOTOR 2 B06
resource MOTOR 3 B05
resource MOTOR 4 B04
The problem was I had two motors not spinning up at all. I switched over to the BLHeli configuration tool and it would only read two of the ESCs, 2 and 3 of course.
So now I’m stuck. I’ve no idea if I did something to the flight controller when I was soldering or mounting it to the new frame, or if I just got a bad one with two dead ESCs on it. I’m guessing they were just bad as all of that circuitry is on the bottom of the board and I did all of my soldering on top. But either way it meant I wasn’t able to go out and fly. I mean I could have rebuilt it again with the old flight controller but then my smartaudio issue would be back, and that would be undoing a lot of work.
In the end I went online and ordered a new flight controller. I took the opportunity to get one that was more designed for toothpick frames, it has the USB and motor plugs side mounted instead of sticking straight down. That should make them harder to damage, and will be easier to maintain.
I’ve made a point in my whoop build log and this one that you should test out your flight controller right out of the package, and I guess I need to add another step to that. For these flight controllers with the battery leads already soldered on and motor plugs, it’s just as easy to add motors and plug in a battery and test that all of the ESCs work as well.
I love this hobby. Flying is a mixture of exhilaration and relaxation for me. Soldering electronics and building a quad is very satisfying. There’s always something new to learn in this hobby though, and it can be very frustrating to put a couple of hours into troubleshooting a build only to be stuck with an unflyable quad while waiting on new parts.

Pingback:Repairs Revisited – Blue Kae