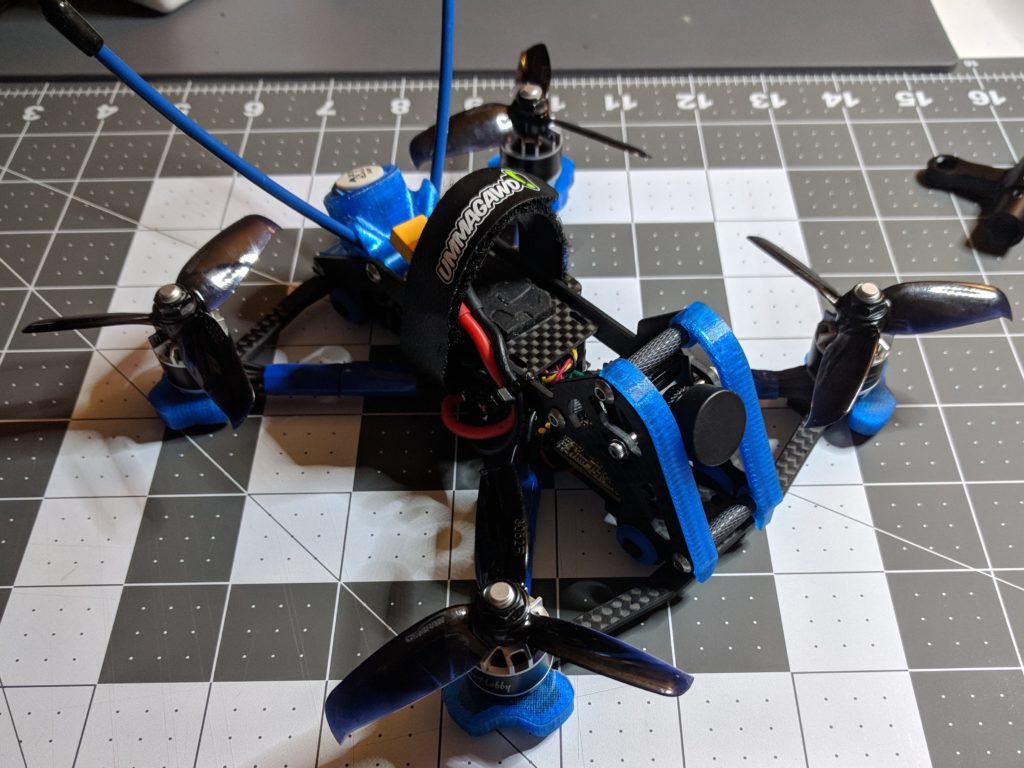
At this stage in my FPV journey it’s May and I’ve finally gotten my 3″ build back together on a new frame with all of the broken components replaced. Now the primary reason why I went for a build with 3″ props was because I’d heard that anything smaller than that didn’t really fly as well as a regular 5″ quad, but I didn’t really have the perspective at the time to understand what that meant for what I was actually looking for.
My yard is about two tenths of an acre, or just over 800 square meters, in size, and while not tiny it turns out is too small to fly a 3″ build in. Or at least too small for someone who’s just stepped up from flying whoops with brushed motors to a much larger quad with brushless motors. To illustrate what I mean, my AcroBee whoop weighs 30 grams with a battery, and my Acrobrat clocks in at 260 grams with battery, which is about half a pound. I can’t quantify the difference in speed involved between the two but it was very significant. So just like I started out the hard way by learning to fly indoors, I misjudged the amount of quad I needed for yard flying as well.
I tried addressing this by adding a throttle cut in my transmitter. This is a way of reducing the throttle by a percentage so that giving the maximum throttle on the stick would only have the quad go at say 90% of it’s real maximum. I gave 75% a shot first, then 60% and then 50% before I started to feel more comfortable. Even then, with the louder motors and the heavier weight, I just wasn’t comfortable flying the yard when my kids were out playing or there were neighbors outside. Hitting someone with a whoop won’t normally hurt given the light weight and prop guards, but hitting someone with a half pound inertia and 3″ spinning plastic blades would cause some damage.
Fortunately my kids’ elementary school is nearby and the grounds are open on the weekend. So I as able to make a few trips over there to fly the parking lot when it was empty. But that was just enough of a taste of getting to fly a bigger and faster quad, that it made flying the whoops around the yard on weeknights not as fun. So I started researching again to see about some of the smaller options for 2.5″ and 2″ quads to see what there was that would work better for me to be able to fly in the evenings after work where I wouldn’t have to drive anywhere.
This summer a new class of micro quadcopter known as a Toothpick designed by YouTuber KababFPV became very popular (he’s a dentist which is where the name came from). These were small quads with very light, usually about 70 grams, carbon fiber frames with 2″ or 2.5″ props. As this type of build started to take off, it seemed like it fit what I was looking for pretty well, but I struggled to find a good frame I liked and figure out what motors and other parts I needed.

Then in late August Is saw a review for BetaFPV’s HX100 and thought maybe that was worth giving a shot. It’s not a perfect build. I don’t like the way the VTX antenna in the back comes out even with the props, but the weight and size looked good so I thought I’d try it out.
Flying a toothpick-style quad in my yard was a completely different experience from my Acrobrat right from the start. It’s about 72 grams with a 500 mAh 2S battery, so about twice as heavy as a whoop instead of 8 times as heavy. It would still hurt if I hit someone with it but I don’t think it would cause any injuries, and hopefully I never have occasion to find out. With 2″ props on it and 1103 motors, it’s not nearly as loud either, so I don’t worry about flying it when my kids are out playing or there’s a lot of traffic in the neighborhood.
So the HX100 has been the perfect yard flyer for me. From August on I started keeping half a dozen 2S batteries charged so I could go outside after dinner and get in about half and hour of flying around the house whenever the weather permitted.
In hindsight it makes sense that what I was looking for in a yard flyer isn’t really what most people were talking about online when they were talking about smaller quads. I think I was just a few months ahead of the curve as the whole microclass of quads personified by the toothpick design has really exploded in the last few months. I just didn’t know then what kinds of questions I should be asking and I didn’t have any frame of reference to evaluate the information I was finding. Which is part of the fun of the hobby for me, it’s a constant learning experience.