After my first real flights ended with a broken battery lead and a fried flight controller and messed up video transmitter, I decided that since I was going to have to take everything apart anyway, I might as well change the frame I was using. While I liked the Phreak it really wasn’t suited well to having a four high stack, and rather than getting taller standoffs and screws to raise the top plate I decided to switch to an Acrobrat.
An Acrobrat is a 3″ frame designed with three mounting positions and a top-mounted battery, where the Phreak only had one mounting position and a bottom-mounted battery. That meant I could separate out the boards in the flight stack and have the camera and HD board up front, the flight controller and ESC in the middle, and the VTX and receiver in the back. Having the battery on top also meant I wouldn’t be landing on it.
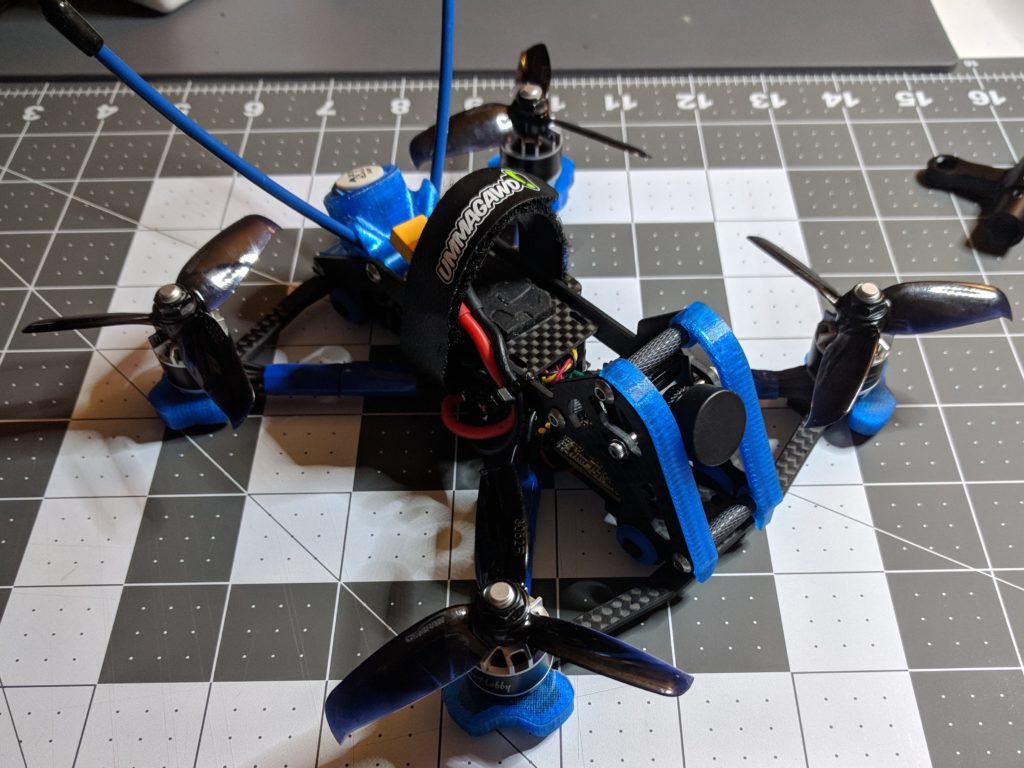
Since I was moving to a new frame, I also got a new set of 3d printed accessories from Brain3d. They had a nice kit that included arm guards, front bumpers, and a nice rear mount to handle both the VTX and receiver antennas.

Of course switching the frames meant taking everything off of the original and moving it over to the new one. But more than that, I had to lengthen the motor wires since the Acrobrat’s layout had a wider length from where the motors mounted to the ESC on the center stack. Fortunately I had saved all of the wire I’d originally trimmed, so it wasn’t too difficult to solder and heat shrink extensions on and retrim and solder back onto the ESC. I also decided to add a capacitor to the build to help smooth out any electrical noise, and taped it down to one of the arms.

With that done I was back to the original repairs I would have needed anyway. I soldered the wiring harnesses back up to the new flight controller board and reseated it on top of the ESC. Then I got the camera and VTX both hooked back up and mounted. The receiver I ended up loosely zip tying to the VTX, which I’m not sure was a good idea even with the Kapton tape to keep them electrically isolated but I haven’t tried changing that around yet.

While it didn’t take me as long as the original build it was still a few hours worth of work to move all of the electronics over to the new frame. I have to say that it was worth it though. It was much easier to fit everything in the Acrobrat than it was the Phreak, which just wasn’t designed to have that extra board in it for HD capture from the FPV camera.
It took me a while to get to this point, but I’m pretty happy with the second iteration of my 3″ quad build. I have to put a 60% throttle cut on it in order to fly it around my yard, but that power is nice to have when I go to my in-laws farm or take it to a nearby park.